Building a Dead Hedge
A Case Study from Market Harborough Golf Club
So, what is a Dead Hedge?
“A dead hedge is a barrier constructed from cut branches, saplings, and foliage. The material can be gathered from activities such as pruning or clearing, and in traditional forms of woodland management, such as coppicing. Its ecological succession can be a beetle bank or hedge.” Wikipedia
Why are they a good thing?
The benefits of a dead hedge, made from cut branches and foliage are: Habitat and food source for wildlife. Windbreak shelter for young plants whilst plant windbreaks establish. Uses up surplus cuttings rather than have a bonfire.
What animals live in a dead hedge?
Dead Hedges create habitat for insects and beetles as well as a rich feeding ground for small mammals such as hedgehogs. Dead hedges are often found in managed woodlands or reserves.
Dead Hedges at Market Harborough Golf Club
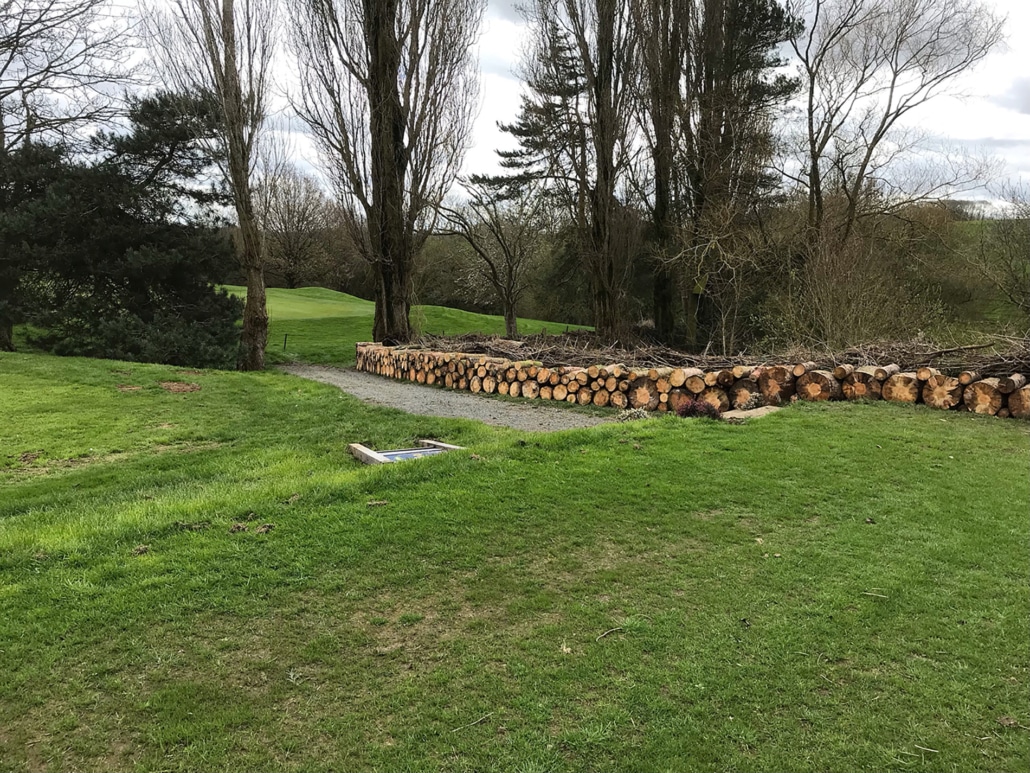
We have two DEAD HEDGES. Both are across the back of greens, sufficiently far back so as not to interfere with play. They look good in themselves and they block off ‘unsightly’ rough areas.
These are the things we have learnt:
- You do need to plan the ‘hedge’, mainly its length. Will it be straight, or curved? They look better curved.
- Get the material ready. Get it dumped as close as possible to where you are going to be working. You need logs and cut branches, of varying lengths and circumference, with the leaves still on. It’s a better habitat if you have a variety of tree and bush types.
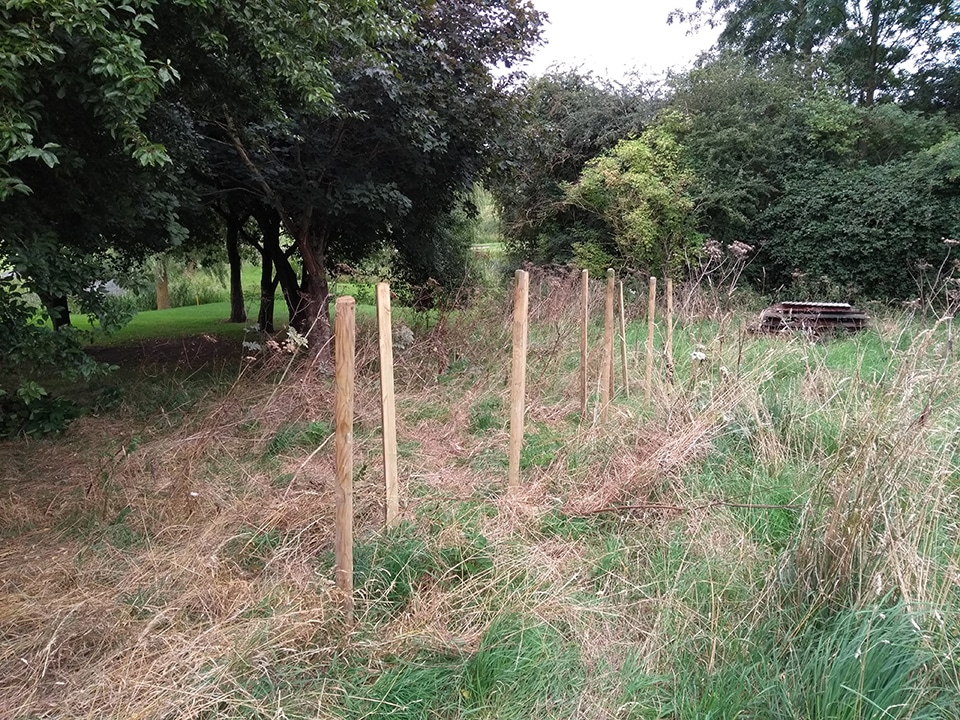
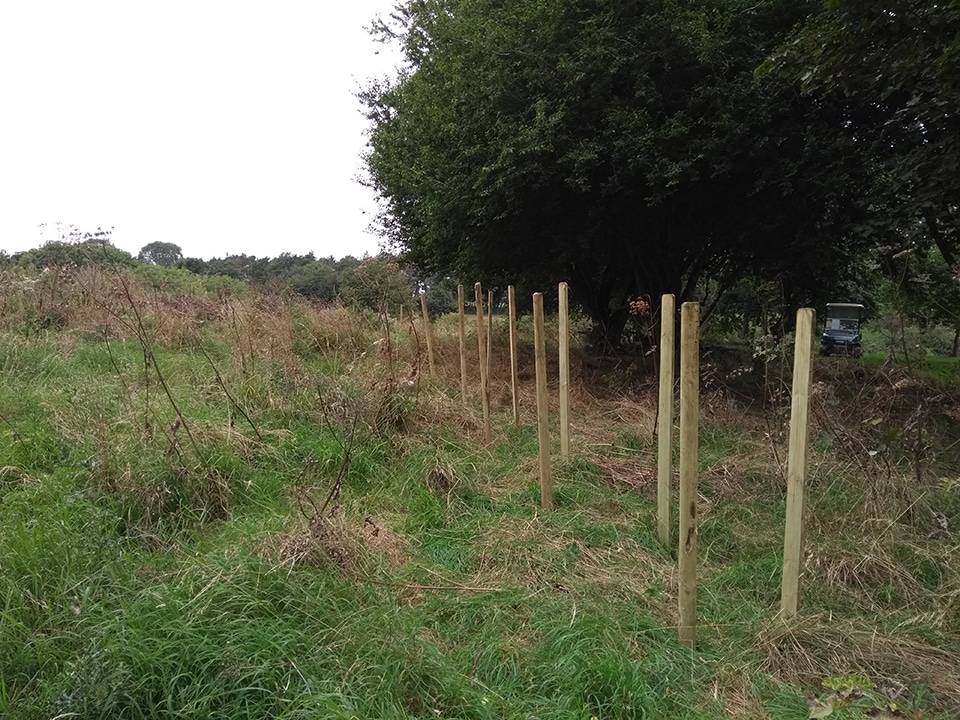
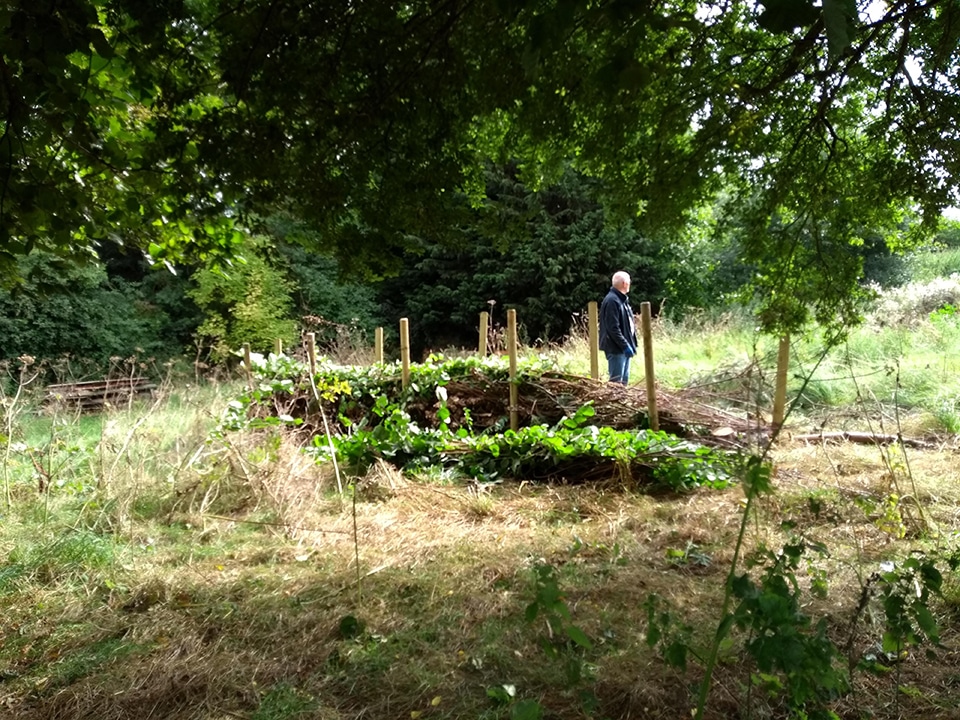
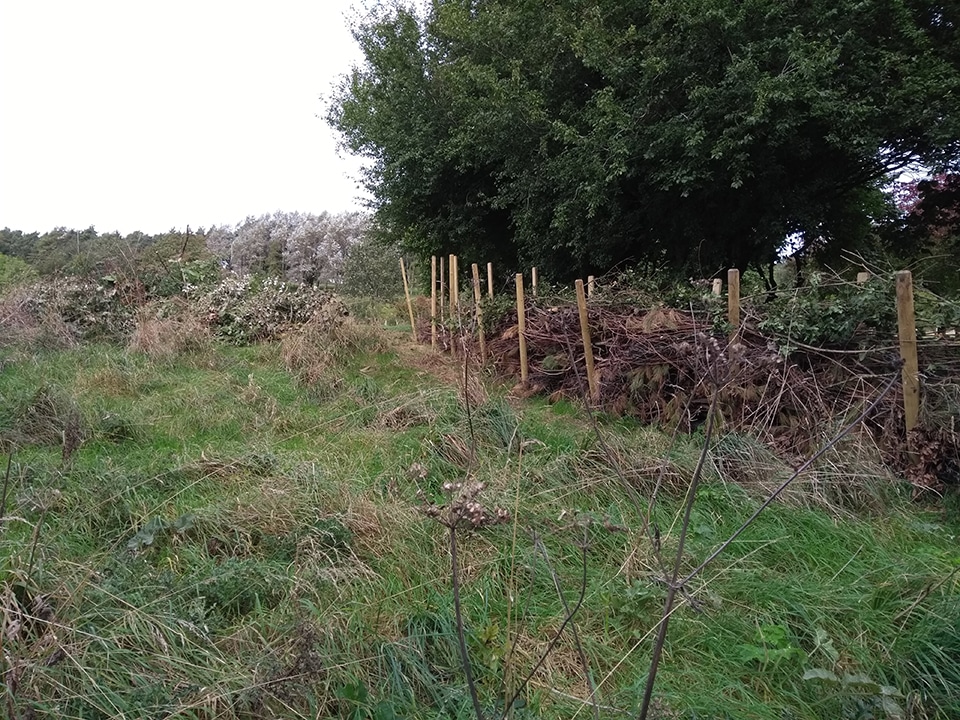
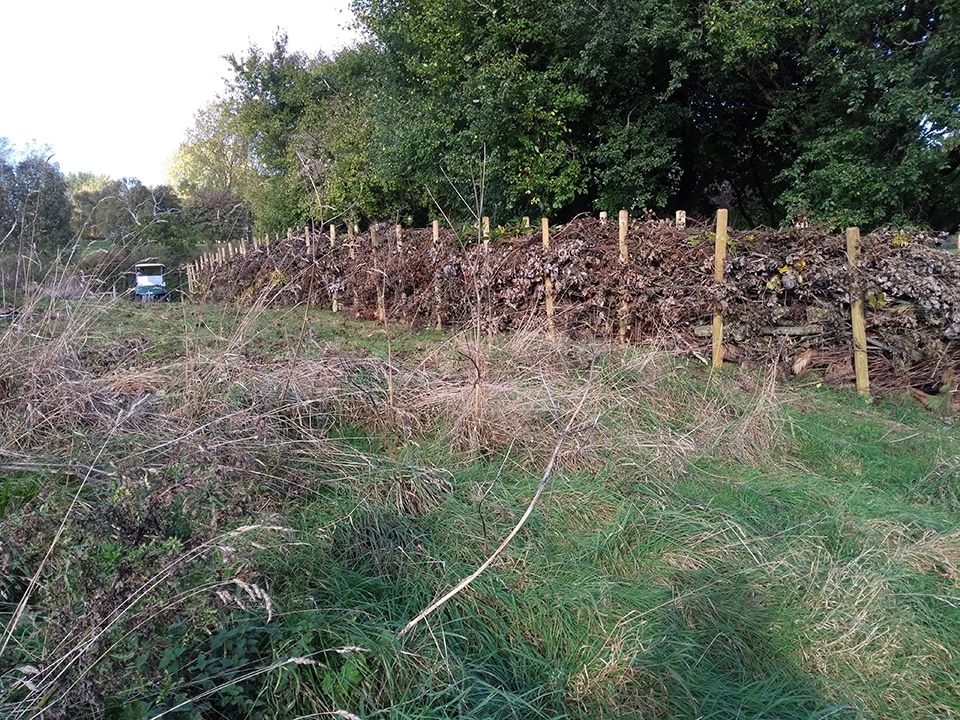
- You will need to obtain quite a number of stakes. More than you think. They need to be thumped in to be solid, and placed at about one metre intervals on alternate sides of where your hedge will lie. (See photo) Do a section at a time.
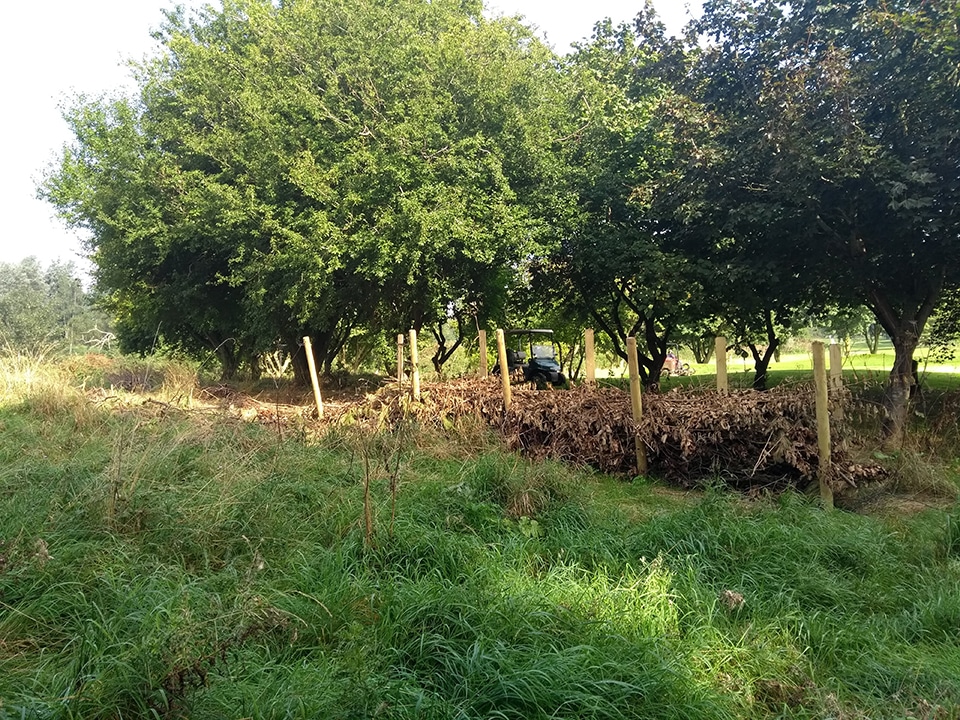
- Lay the heavier, bulkier, longer logs and branches at the bottom, to form a base, and lay lighter stuff on top. Some dead hedges are built by weaving pliant branches in and out of the stakes, to bind them securely. We just lay the material along the line of the channel between the stakes.
- The material tends to sink down and get compressed. That’s fine. It makes it better for insects and mammals. The dead hedge will need topping up every year, and ‘tidying’ a little – but not too much!
At our club, the curiosity of members was raised, in a good way. Nobody spoke a word against them.
In our case, the hedges were built by a small group of volunteers, meeting once each week for a morning over a period of 4-6 weeks. The greens staff cut and transported tree and shrub material for us. The stakes were bought from the greens budget.
The hedges are sufficiently far behind the greens not to affect play. Members frequently ask questions about the purpose of the dead hedges. This gives us an opportunity to explain about habitats for insects and small mammals.
For further help and advice, contact Bob Roberts at info@greenergolf.co.uk. Or come and visit!
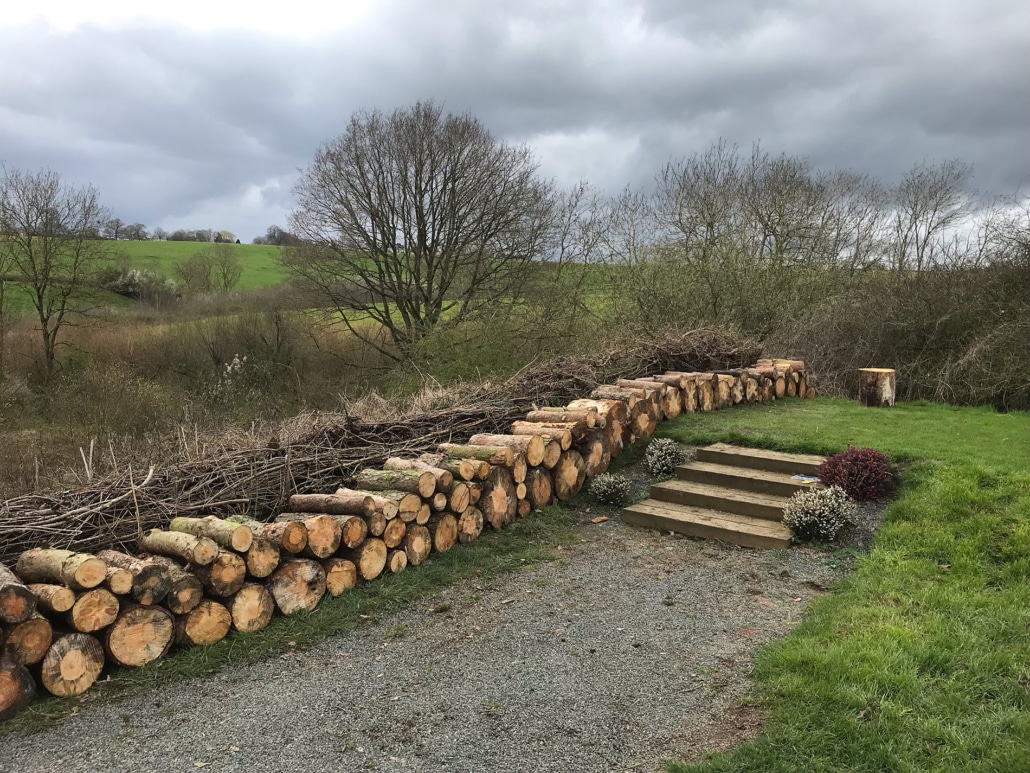
In April 2024, a large number of logs, which had no clear use otherwise, have been stacked along the front of one of our DEAD HEDGES. This acts as a good wind-break for the hedge, as well as providing additional nice habitat for insects and small creatures.

